

Imagine having salon-perfect acrylic nails at home or spending a fortune. Welcome to the world of DIY nail artistry! Let’s explore together how you can achieve professional-style acrylic nails in the comfort and convenience of your own living room, with our easy-to-follow guide.
Who said that gorgeous, salon-quality acrylic nails require an appointment? It’s time to debunk this myth! Dive into this article which unveils simple yet effective steps that will transform your nail game drastically – all from within the cozy confines of your own home.
Understanding Your Acrylic Nails Desire.
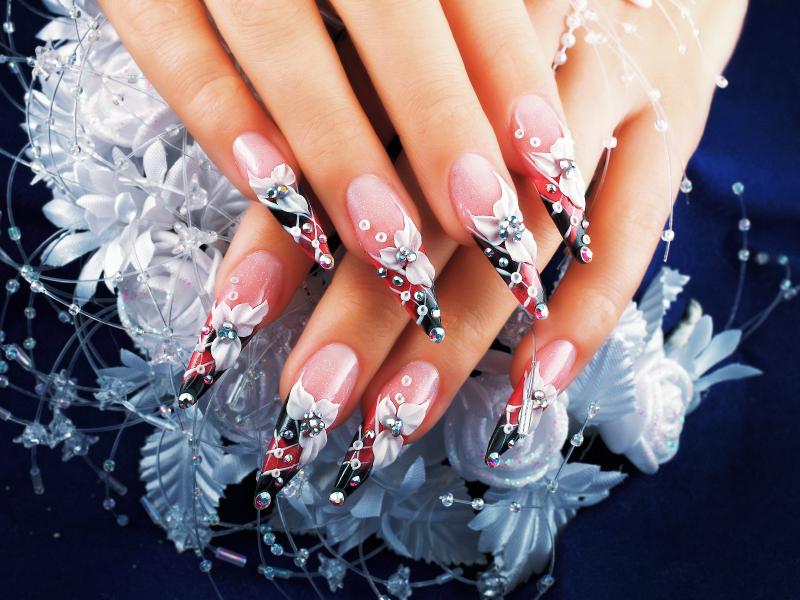
Evolving from being merely a grooming standard, acrylic nails at home have zoomed up to become a significant element of personal style and self-expression. It’s much beyond the realm of just “looking pretty”; it’s about unearthing your innermost aesthetic desires and manifesting them at your fingertips. Yes, sounds fascinating, doesn’t it? You may be lured towards the bright reds for their intensity or lean towards the calming pastels as they resonate with your tranquillity. Whatever shade or style you pick can tell tales about your individualistic approach toward fashion.
Digging deeper into understanding your acrylic nail desires is akin to delving into a journey of self-exploration that transcends physical beauty norms and conventions. Each of us has unique aesthetic inclinations: some may favor simplicity leading them towards classic French tips while others might be more experimental, seeking intrigue in bold designs or bedazzling rhinestone embellishments. Sacredly guarding these diversities within us promotes our need for this cosmetic customization in life where nobody wants to fit into standard boxes anymore; we desire uniqueness – distinctively beautiful impressions expressed through our acrylic nails at home.
Section 1: Necessary Materials for Acrylic Nails at Home.
Let’s commence the thrilling journey of acrylic nails at home by gathering and embracing all the essential materials. This artistry might sound technical to some, but armed with the right tools, you’ll be painting your canvas (aka your nails) like a pro in no time.
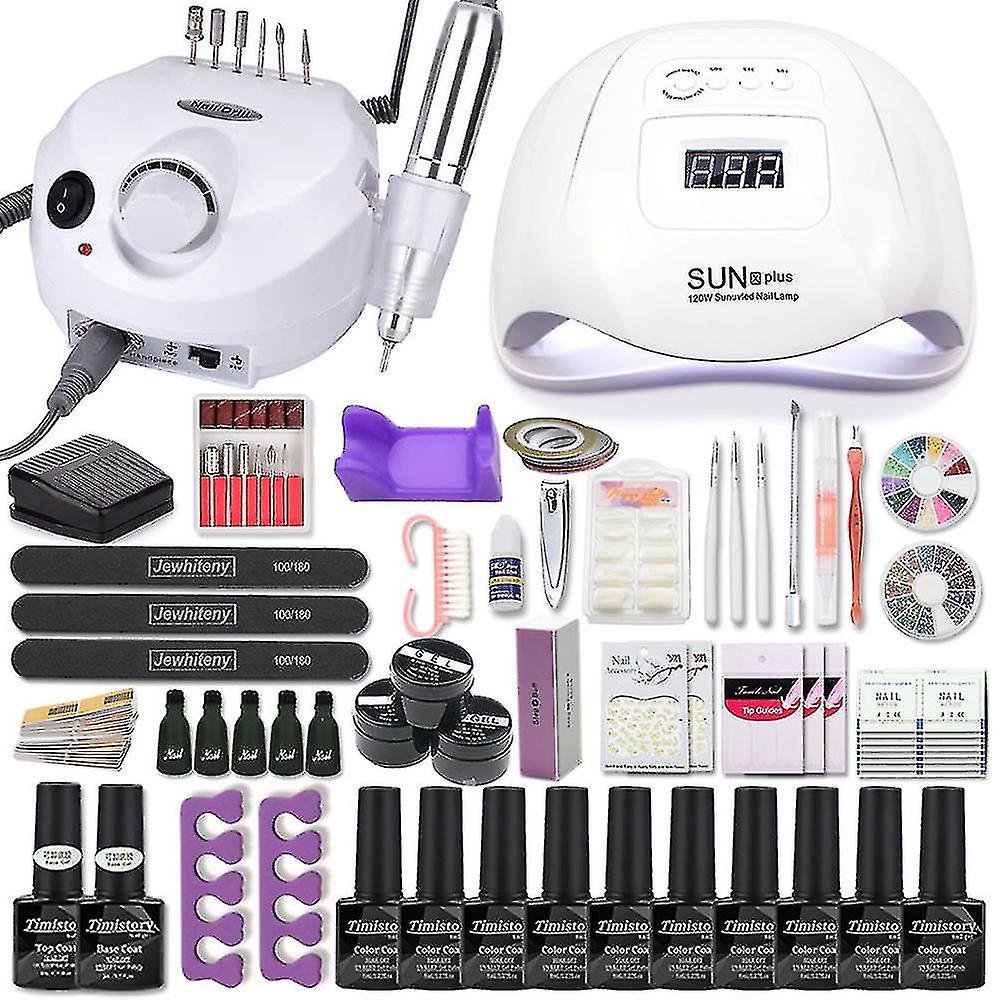
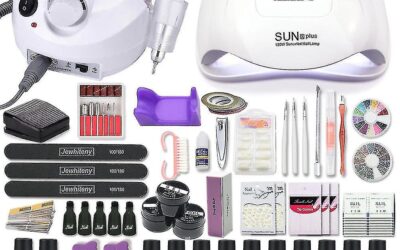
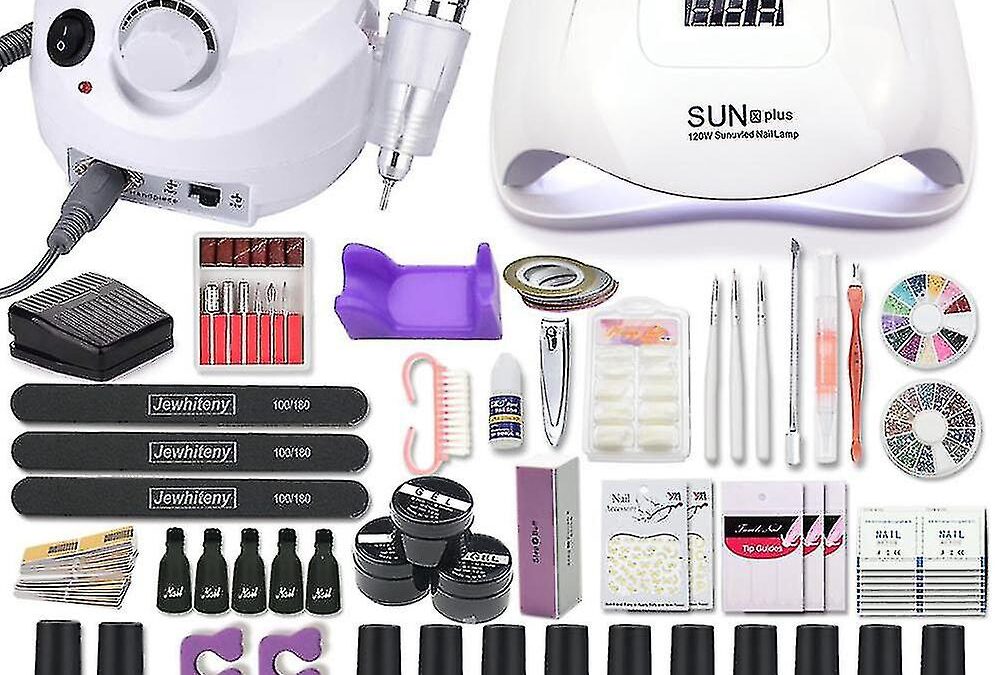
Your dedicated acrylic nail art toolkit should include Acrylic nail tips, Acrylic powder & liquid monomer set, Nail tip adhesive – to secure those tips tightly onto your natural nails; and A crystal glass deppen dish – a must-have for dipping and concocting that perfect acrylic mixture! Don’t forget about a quality brush to apply this mix to your nails immaculately. Plus, a triple-duty primer coat will ensure application longevity while adding glow and shine to those dreamy artificial talons. With these quintessentials in hand, you’re all set on a route towards à la mode acrylic hands!
Purchasing Acrylic Nail Kit

stocking your nailcare arsenal with individual products sounds more convenient for your manicure needs, order or pick up the below
- Nail clippers
- Coarse nail
- Acrylic Nail tip
- Nail tip Glue
- Acrylic Nail dehydrator
- Acrylic Nail primer
- Acrylic liquid Monomer
- Acrylic Powder
- Acrylic Brushes
- Nail clippers: One of the key tools you’ll need in your quest for salon-style acrylic nails at home is a good pair of nail clippers. While it may seem like a simple tool, not all nail clippers are created equal. Investing in a quality pair will make all the difference in achieving that perfect nail shape. When choosing nail clippers, prioritize durability and precision. Look for ones made from high-quality stainless steel, as they tend to be more durable and long-lasting. Additionally, opt for clippers with a sharp edge that can easily slice through even the toughest nails without exerting too much pressure on your fingers.
- Acrylic Nail tip: The acrylic nail tip is the foundation of any great set of salon-style acrylic nails. It is a small, pre-formed piece that is attached to the natural nail to add length and shape. The beauty of acrylic nail tips lies in their flexibility and versatility and they can be sculpted into any desired shape, whether it’s stiletto, almond, or square. One key advantage of using acrylic nail tips is their ability to blend seamlessly with your natural nails. Whether you have short, damaged, or uneven nails, these tips can create a smooth canvas for applying the acrylic overlay. They also come in a variety of sizes and lengths, allowing you to customize the final look based on your preferences.
- Nail tip Glue: Nail tip glue is the secret weapon that can make all the difference in achieving salon-style acrylic nails at home. This powerful adhesive can securely attach nail tips to your natural nails, ensuring a long-lasting and professional-looking finish. But not all nail tip glues are created equal; it’s important to choose a high-quality formula that offers a strong bond and flexibility
- Acrylic Nail dehydrator: One of the crucial steps in achieving salon-style acrylic nails at home is the use of a nail dehydrator. This often-overlooked product plays a pivotal role in creating long-lasting and flawless nail extensions. A nail dehydrator helps to remove any excess moisture or oils from your natural nails, ensuring that the acrylic adheres properly and lasts longer. The beauty of using a nail dehydrator is that it not only preps your nails for acrylic application but also helps to prevent lifting or peeling after your manicure. By dehydrating the natural oils on your nails, you create an optimal surface for the acrylic to bond with. To be amazed by the difference it makes in your DIY manicures!
- Acrylic Nail Primer: One often overlooked yet crucial step in achieving salon-style acrylic nails at home is the application of an acrylic nail primer. This colorless liquid may seem unassuming, but its role in ensuring a flawless and long-lasting application cannot be overstated. Acting as a bonding agent between your natural nails and the acrylic product, the primer creates a strong foundation for the artificial nails to adhere to. Not only does it help prevent lifting and chipping, but it also enhances the durability of your manicure.
- Acrylic Liquid Monome: Acrylic liquid monomer is a vital component when it comes to achieving salon-style acrylic nails at home. This viscous liquid is the magical elixir that gives your nails strength, durability, and flexibility. Its precise formula allows it to react with the polymer powder, creating a paste-like substance that can be sculpted onto your nails before hardening into a solid surface. One of the key advantages of using acrylic liquid monomer is its fast-drying properties. Unlike other nail products that may take forever to dry or require UV light for curing, this powerful liquid sets within minutes, saving you precious time and allowing you to move on to the next step in your nail routine swiftly.
- Acrylic Powder: Acrylic powder is the secret behind those stunning, salon-style acrylic nails that we all admire. This versatile product not only adds strength and durability to your nails but also offers endless possibilities for creativity and customization. Whether you want a classic French manicure or bold, vibrant designs, acrylic powder can help you achieve them effortlessly. What sets acrylic powder apart from other nail products is its ability to create a strong bond with your natural nails. When mixed with liquid monomer, the acrylic powder forms a putty-like substance that can be molded into any shape and then hardened under UV light. This process not only provides a solid foundation for your nail extensions but also ensures that they will last longer without chipping or breaking.
- Acrylic Brushes: When choosing an acrylic brush, there are several factors to consider. The size of the brush should match the size of your nail bed for optimal control and coverage. Additionally, pay attention to the bristle material – synthetic bristles are often preferred due to their ability to hold and release liquid acrylic solution effectively. It’s also worth noting that brushes with a tapered tip allow for more detailed work, while square-tipped brushes are great for applying larger areas of color or creating bold lines.
Section 2: Preparing Your Natural Nails for Application
When entering the realm of acrylics, regard your natural nails not as an inconvenience but as a foundation. Prior to application, create an ideal canvas to ensure optimal results and longevity. Begin by cleaning your nails thoroughly with a nail brush, and soapy water, and drying them completely. Don’t forget those often neglected corners; any trapped dirt can affect how well the acrylic adheres.
Now indulge in some TLC for your cuticles – they play a crucial role in nail health but are frequently overlooked. Push them back gently using a cuticle pusher or orange stick wrapped in cotton – aggressive moves aren’t necessary here! Finish off by filing your nails lightly for better adherence to the acrylic. Treat this stage like culinary prep; just as finely chopped ingredients blend better together for scrumptious meals, preparing your natural nails properly will enable seamless blending with the acrylics promising salon-style dazzling fingers right at home! Don’t worry if it seems fiddly at first – practice makes perfect.
Section 3: Applying the Acrylic Mixture Correctly.

Mastering the proper application of your acrylic mixture is next on our journey toward salon-style acrylic nails at home. Remember, precision and patience are key ingredients in this stage. Think of yourself as a sculptor; each nail being your canvas where you deploy your artistry using brush strokes to create sleek, professional-grade acrylic nails.
Carefully dip your brush into the liquid monomer, then into the acrylic powder until it forms a small ball at the tip of your brush. Too much or too little can result in uneven nails or even damage to your natural nail bed so balance is vital here. Smoothly apply this onto the surface, shaping it while it’s still wet for perfect alignment with your natural nail shape. Get your eyes captivated by every flick of your fingers as you step up from amateur to ace following this simple yet effective transformative process!
Section 4: Shaping and Filing Your Acrylic Nails at Home.

Welcome to the enchanting world of sculpting your fresh acrylic nails at home. There’s a certain thrill that comes from meticulously shaping and filing your own extensions, as it gives you the power to choose what suits you best. Will it be the classic oval or trendy almond? Or perhaps the sinfully sharp stiletto, with an edge that screams bold and daring?
Embrace your inner artist with a smooth emery board in hand. Begin by gently but precisely filing from side to center using rhythmic sweeps. Bear in mind that each stroke narrows your nail, offering you total control over its future look! With patience, finesse, and creativity, watch as each piece of acrylic evolves into a masterpiece veiled at the tips of your fingers. Whether subtly elegant or dramatically eccentric – let these extensions reflect the unique personality only you possess.
Section 5: Adding a Finishing Touch with Nail Polish.

Adding the finishing touch to your acrylic nail paints at home is perhaps the most exciting part – the nail polish application. This vivacious step allows you to flaunt your creative side and breathe life into your manicure. Various textures, glitter effects, and myriads of color choices are like an artist’s palette that’s waiting for you to make a masterpiece on your nail canvas.
The type of nail polish can range from high-gloss lacquers for opulent shine or matte finishes that offer chic sophistication. Opt for long-wearing formulas that provide chip-resistant strength matching the durability of your acrylics. Remember, it’s not just about how great the polish looks on day one, but also about how it withstands the test of time (and household chores).
Section 6: Maintaining and Caring for Your Acrylic Nails.
Maintaining your acrylic nails at home is no less important than having them beautifully done. It requires commitment and daily care to ensure the longevity of your salon-style nails; after all, what good is a masterpiece if not well-preserved? Therefore, our next section concerns the maintenance and upkeeping of those shiny new digit decorations.
In essence, caring for acrylics begins with simple habits such as wearing gloves while doing household chores or avoiding opening cans manually – little efforts that can prevent potential breakages. But beyond preventing physical damage, it’s essential for us to immerse our hands in nourishing oils regularly (those rich in Vitamin E work wonders!) as they improve both the health and appearance of the nails and cuticles. Pro tip: Regular fills every 2-3 weeks are also recommended, this helps keep your acrylic nails strong, smooth, and just like brand spanking new! It’s these small rituals that collectively secure the radiance and integrity of your fashionable faux claws.
Conclusion: Enjoy Salon-Level Beauty from Home Comfort.
In conclusion, it’s invigorating to realize you can achieve salon-level beauty from the comfort of your acrylic nails at home. There’s no need to compromise your look just because you’re unable to visit a professional. You’re only an acrylic kit away from a beautiful set of nails that express your style and personality. The time spent mastering this art will pay dividends not only in cost savings but also give you a gratifying sense of self-sufficiency.
Moreover, beautifying at home, while initially challenging, allows for more creativity and spontaneity than traditional salons offer. Who knows the kind of innovative designs and styles you could stumble upon? Therefore, embrace this opportunity, enjoy the process, and start exploring new facets of personal beauty that lie within your grasp right acrylic nails at home.


0 Comments